Microsoft additionally upped the system demands for running Windows 11 Among all needs, the need for a TPM equipment chip annoys everybody that wants to try Windows 11 Even when the TPM Hardware chip is available on the motherboard, users obtain a ‘TPM Tool Not Identified’ error.
So, if you intend to try Windows 11 however can not because of this mistake, proceed reviewing the guide.
What is TPM?
It is essential to understand what TPM is and just how it functions prior to understanding why the mistake shows up.
TPM, or Trusted System Component, is a hardware chipset placed on a PC or laptop motherboard. It’s a global standard for a safe cryptoprocessor.
TPM is all about security. It supplies hardware-level protection and encrypts disks using Windows features like Bitlocker, Windows Hello there PIN, and so on. For correct security, TPM 1 2 or 2.0 is necessary on Windows 11; without it, you can’t mount the os.
Since you know what TPM is, you may wish to take care of the mistake to mount Windows 11 Here are the most effective ways to repair the error.
1 Make certain your motherboard has a TPM Chip
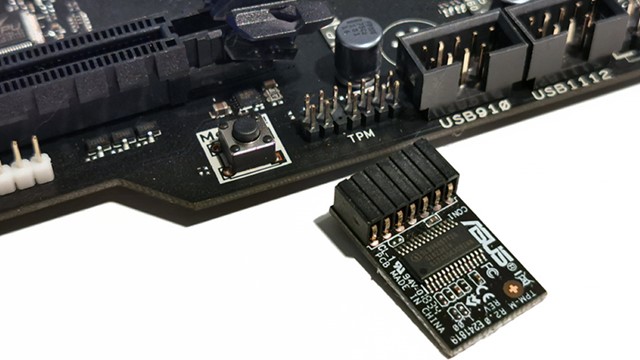
Before you attempt to solve the error, you need to check whether your motherboard and CPU have a TPM chipset.
TPM gadget not detected mistake message can suggest that your motherboard does not have it. If TPM is not available, you can’t do anything.
So, it’s suggested to search for your motherboard & & CPU online to see if it has TPM 2.0 detailed as a main part of tool requirements.
2 Inspect if TPM is Allowed in biography
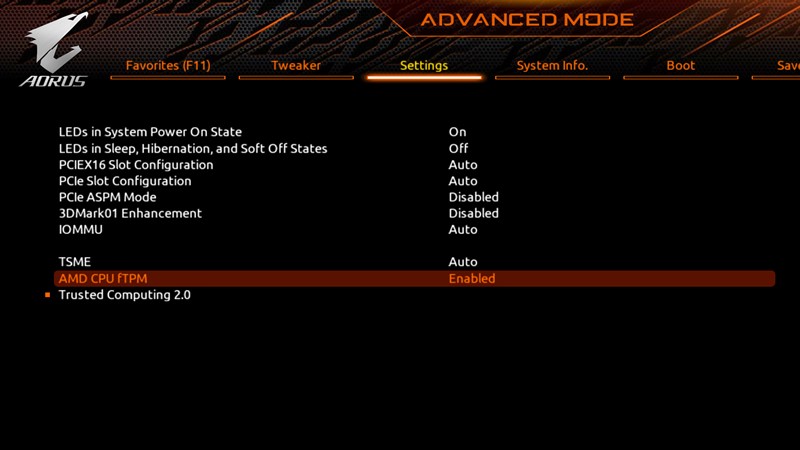
If TPM is readily available on your computer yet you still get the error, check if it is enabled in the BIOS. If it is not enabled, you can enable it to repair the mistake message.
Enabling TPM from a BIOS/UEFI isn’t very simple because the BIOS varies depending upon the motherboard’s brand name and model. Enjoy some YouTube videos or inspect the motherboard manual for instructions on just how to do this.
If you do not want to view a video or check out the motherboard handbook, look into our guide on just how to Allow TPM 2.0 on a Windows PC
3 Update BIOS or UEFI
If the TPM is already allowed on the biography or UEFI, but you still obtain the error message, it’s time to update the biography or UEFI.
However, upgrading the biography could be tough, specifically if you lack technical understanding. Incorrect BIOS settings can bring about various issues that can not be quickly taken care of.
The best way to Update your BIOS is to disable the Bitlocker tool file encryption, visit the OEM site, and download the most up to date BIOS firmware for your computer. When downloaded and install, run the installer data and adhere to the on-screen instructions.
An additional option is to take your PC or laptop computer to the local service facility and inquire to update the BIOS. This is the best method to update the BIOS/UEFI firmware.
4 Re-install the TPM Vehicle Driver
If the TPM 2.0 shows up in your Device Supervisor, you can re-install the TPM chauffeur. Here’s what you require to do.
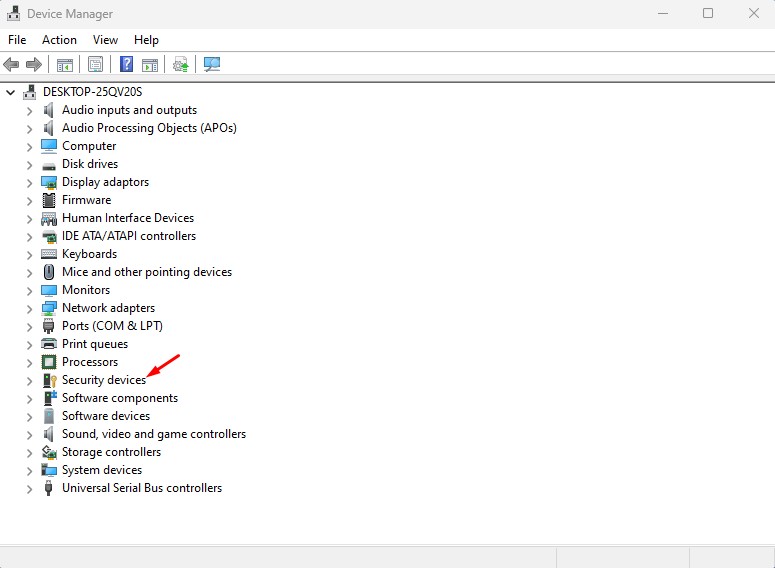
1 Click Windows Look & & kind Device Manager. Open the Device Supervisor app from the listing.
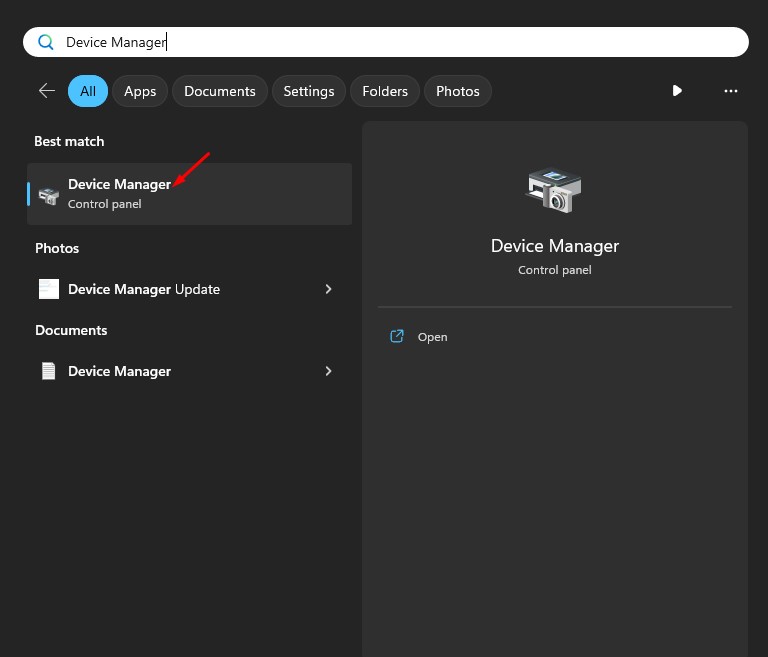
2 When the Gadget Supervisor opens up, expand the Security Tools
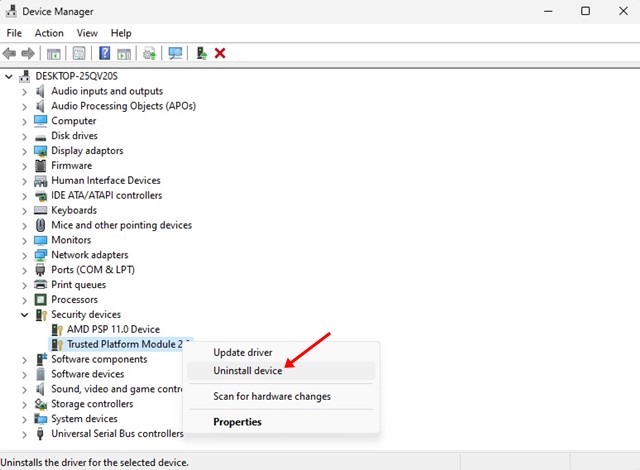
3 Right click on the Trusted Platform Component and select Uninstall Tool
4 On the confirmation prompt, click on the Uninstall once more.
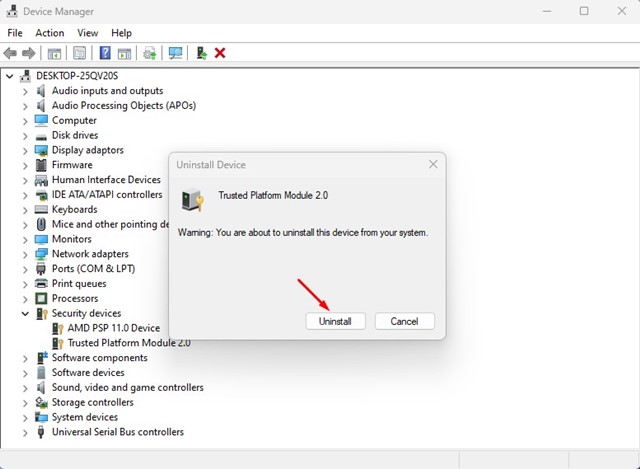
5 As soon as the TPM driver is uninstalled, reactivate your computer system
5 Unplug the Battery/CMOS
This is a very common option for resetting the PC BIOS. If you have a laptop, you can power down the gadget and eliminate the battery.
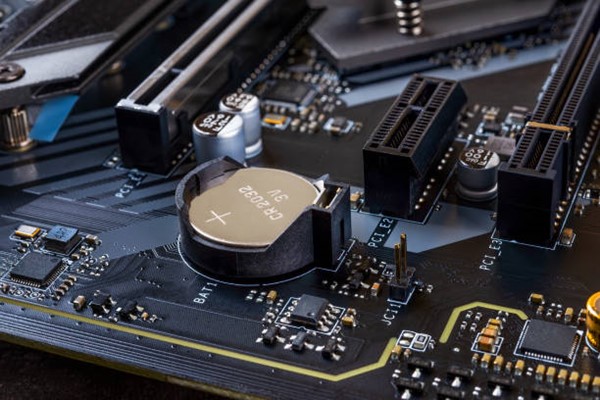
If you have a desktop, you require to open the CPU closet and get rid of the CMOS. For those not aware, CMOS is the term for the memory on a computer system motherboard that saves the biography setups.
Removing the CMOS battery removes all biography settings. So, you can attempt eliminating the CMOS battery (only if you have technological knowledge) to reset the BIOS settings to default.
6 Bypass the Windows 11 TPM Requirements
Those who want to make it possible for TPM for Windows 11 installment can rely on this technique. There’s a means to bypass Windows 11’s TPM Demand; you should utilize several third-party applications.
You need to have a look at our guide– Just How to Bypass Windows 11 TPM Demand , to explore all readily available options. An additional simpler approach is to develop a Bootable USB drive with the Rufus energy.
Rufus provides an option to remove the Secure Boot and TPM 2.0 demands. To bypass the Windows 11 needs using Rufus, have a look at this overview– Exactly how to Create a Bootable USB to Bypass Windows 11 Constraints
7 Contact Technical Assistance
If your motherboard has a TPM chip and the biography setups are proper, you ought to look for technological help.
You can get in touch with a neighboring professional to have them take care of the issue, or you can call your PC or laptop computer maker for assistance.
This overview has to do with taking care of the ‘TPM Gadget Not Discovered’ error. If your PC has a TPM chip and you’ve followed all techniques, the problem was most likely already dealt with. Please let us recognize which method benefited you to fix the Windows 11 TPM error.