On Windows 11, you have Hyper-V, a Microsoft product that allows creating & & running multiple online machines on a solitary device. It supports Windows, Linux, and FreeBSD, but you will hardly require it if you’re a regular user.
Lately, a few Windows 11 users have actually seen Hyper-V operating on their Computers also when they haven’t utilized it. When running in the background, Hyper-V can consume lots of RAM and drainpipe battery life.
For this reason, it’s a great idea to keep Hyper-V handicapped on Windows 11 Additionally, if you prepare to utilize other virtualization software application like VirtualBox, it’s suggested to turn off Hyper-V initially to prevent any kind of conflict concerns. Here’s exactly how you can transform it off.
1 Disable Hyper-V from Windows Features
One of the easiest means to disable Hyper-V on Windows 11 is through Windows Qualities. Follow the actions listed below to do so.
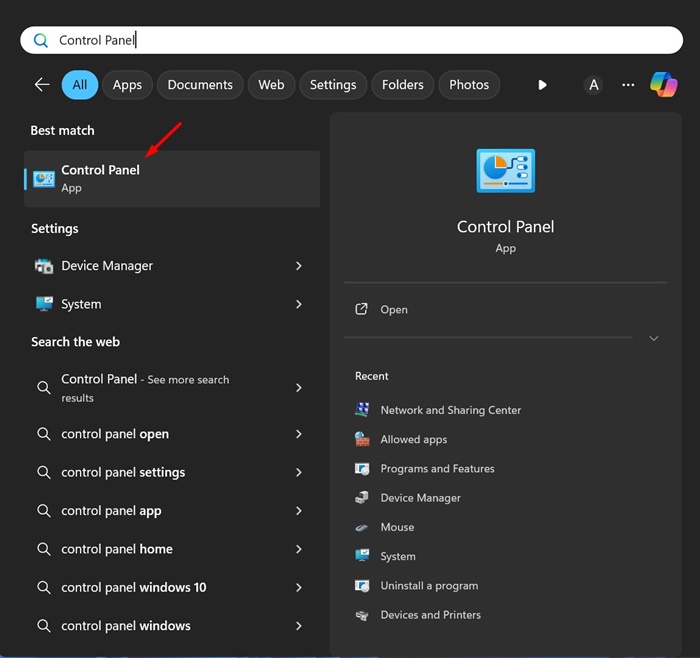
1 Type in Control board on the Windows Search. Next off, open the Control Panel application from the checklist of finest suit outcomes.
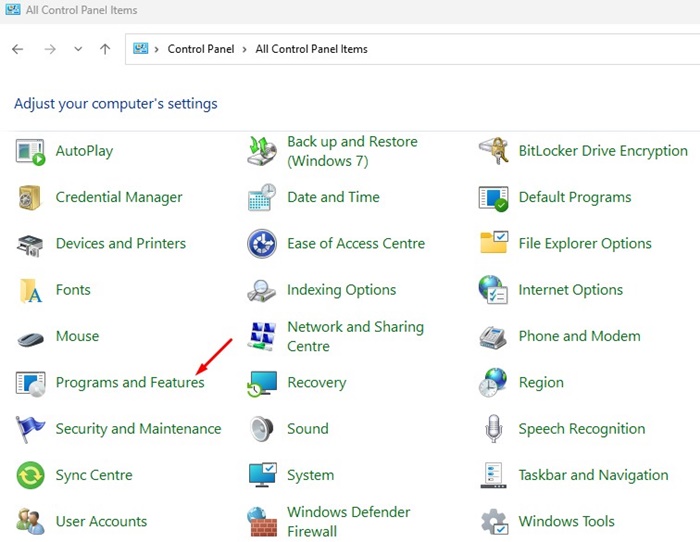
2 When the Control board opens, click on Programs and Functions
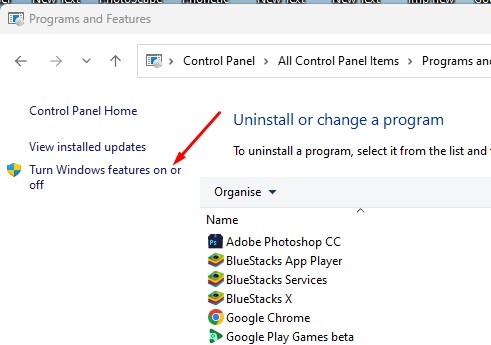
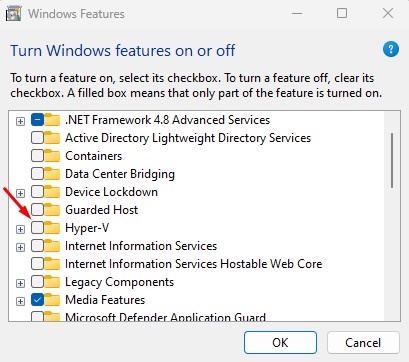
3 On the left side, click Transform Windows Functions on or off
4 On the Windows Functions prompt, uncheck the Hyper-V
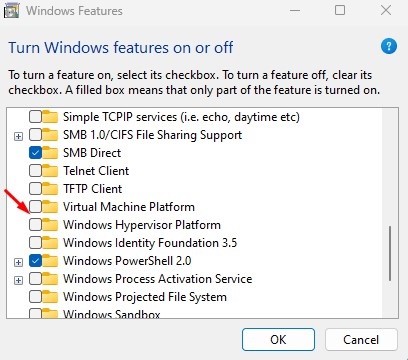
5 Next off, uncheck the Windows Hypervisor System Once done, click OK
After making the changes, reboot your Windows 11 COMPUTER. This must disable Hyper-V on your PC.
2 Disable Hyper-V Utilizing DISM Command
Prior to you follow this approach, guarantee your computer is connected to the Net. Then, make use of the DISM command to disable Hyper-V on Windows 11
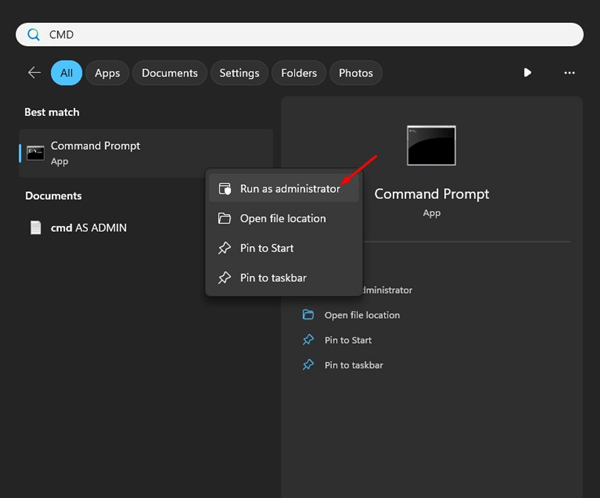
1 Type CMD in the Windows 11 Search. Next, right-click on CMD and pick Run as manager
2 When the Command Trigger opens, implement this command:
dism/ on-line/ disable-feature/ featurename: Microsoft-hyper-v-all

3 After executing the command, close the Command Motivate
4 Ensure to reboot your Windows PC to apply the changes.
3 Disable Hyper-V on Windows 11 using PowerShell
You can also make use of the Powershell energy to turn off the Hyper-V feature on Windows 11 Below’s exactly how to do so.
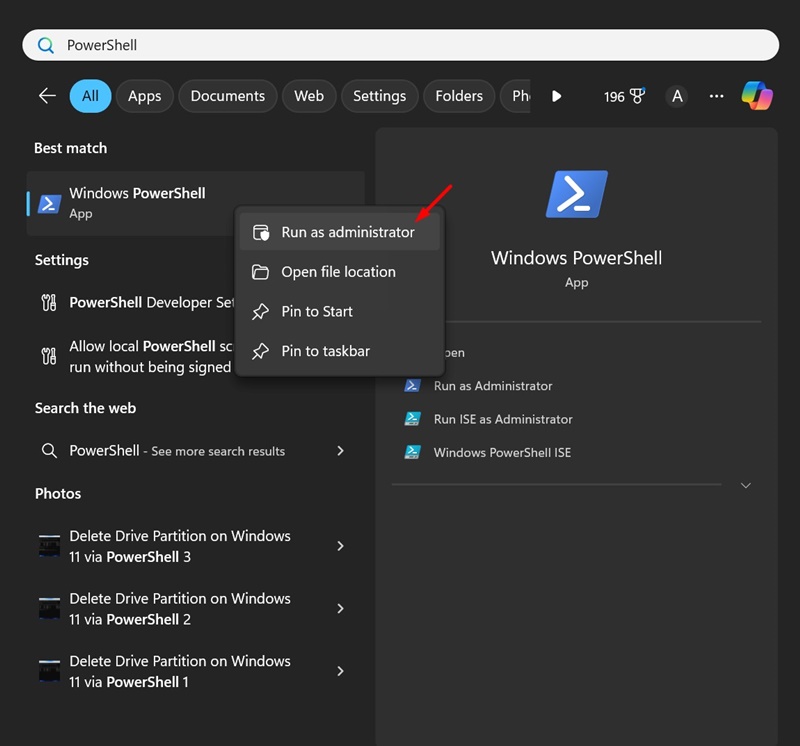
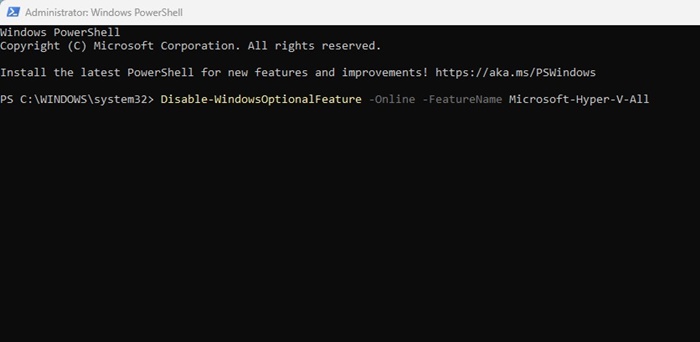
1 Enter PowerShell on Windows 11 Look. Next, right-click on PowerShell and pick Run as manager
2 When the PowerShell energy opens, implement this command:
Disable-WindowsOptionalFeature -Online -FeatureName Microsoft-Hyper-V-All
3 On the confirmation punctual, type Y and press Enter.
4 Disable Hyper-V using the BCDEdit command
You can use the BCDEdit command-line utility to handle the hypervisor launch setting. The very same can be used to disable Hyper-V as well. Right here’s how to disable Hyper-V using the BCDEdit command line utility.
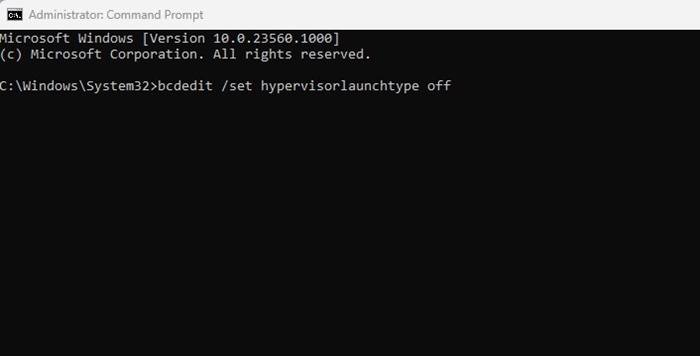
1 In Windows 11 Search, type CMD. Next, right-click on CMD and choose Run as administrator
2 When the Command Trigger opens, execute this command:
bcdedit/ set hypervisorlaunchtype off
3 After carrying out the command, shut the command prompt.
See to it to reactivate your Windows 11 Computer to apply the modifications. This should disable Hyper-V on your tool.
5 Disable Hyper-V on Windows 11 using BIOS
Even though you can disable Hyper-V by following the above techniques, it is necessary to note that if your computer doesn’t have the equipment virtualization allowed, the Hyper-V or any kind of various other virtualization program won’t work.
For that reason, if you don’t intend to make use of virtualization programs, it’s finest to shut off equipment virtualization in the biographies.
- Reboot your Windows PC.
- Now, use the designated secret to open the Biography setups
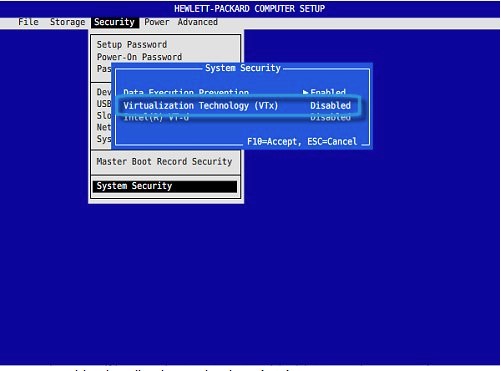
- When you’re into biographies, switch over to Setup
- Select the Virtualization Technology alternative. Next off, select Impaired
- Conserve the changes by press the F 10 essential and exit.
Please note that the options to access the BIOS and disable virtualization might differ. You can locate the options to access the BIOS and shut off virtualization by assessing the assistance documents or seeing the producer’s web site.
These are basic methods for disabling Hyper-V on the Windows os. Let us understand if you require more aid.