With the Snipping Device for Windows 11, you can record cost-free form snip, rectangle-shaped snip, Home window snip, Full Display Snips, and Video Snips. While Clipping Device has long been known as a screenshot energy, it additionally deals with screen recording.
The most recent variation of Snipping Tool can tape-record your computer or laptop display. So, if you have actually relied on third-party applications for display recording, it’s time to ditch them and use the built-in tool.
Display Recording on Windows 11
Recording Windows 11 displays is very easy, many thanks to Microsoft’s several integrated devices. Prior To the Snipping Tool’s display recording feature, Windows already offered an Xbox Game Bar application for videotaping gameplay videos.
Furthermore, Windows 11 supplies an integrated tool called Clipchamp that provides display capturing and tape-recording functions.
How to Screen Record Making Use Of Trimming Device on Windows 11
The Snipping Tool in Windows 11 already can tape-record screen; it’s just that many individuals are not knowledgeable about this.
Some might even fail to notice the ‘Recording’ button on the Snipping Device’s user interface. Listed below, we have shared actions for making use of the Clipping Device to tape video clips on Windows 11
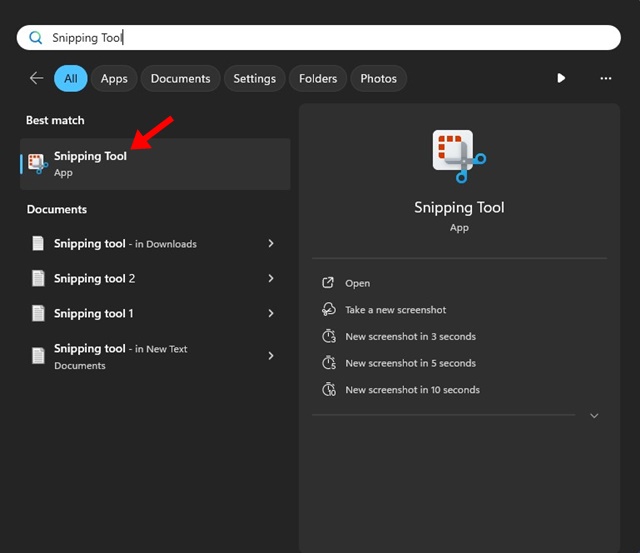
1 To get going, press the Windows Key + S switch on your keyboard. This will certainly open up the Windows Look. Enter Clipping Device and open it.
2 You can also push the Keyboard Faster way to introduce the Clipping Device energy.
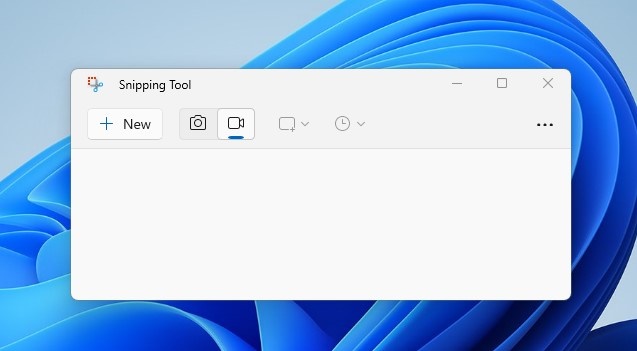
3 When the Snipping Device opens, change to the Document icon on the leading toolbar.
4 When selected, click the New button to open the display recording overlay.

5 Select the location you want to videotape with the Snipping device. You can select a little section or capture full-screen videos.
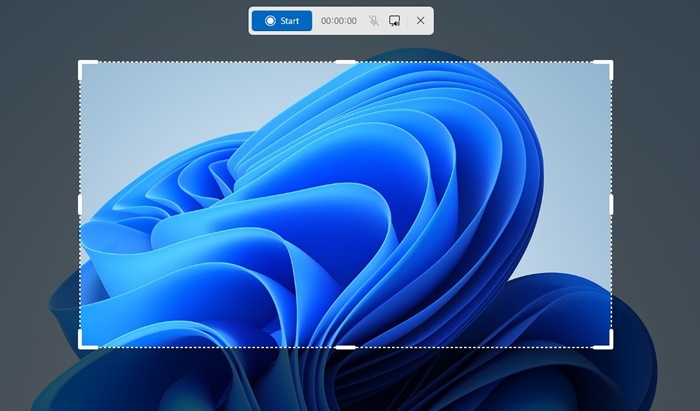
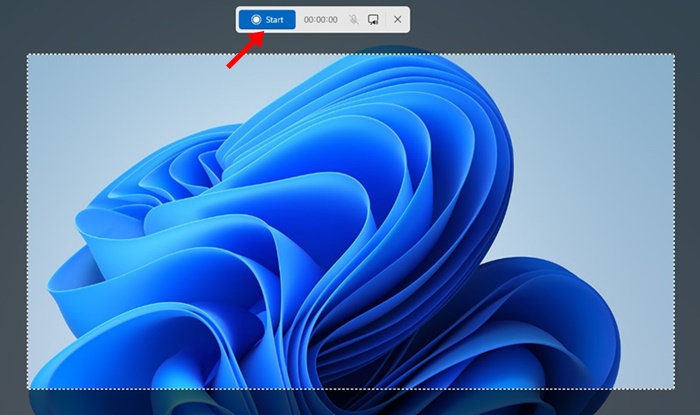
6 As soon as selected, click the Beginning button to start the screen recording. As the Snipping tool records your screen, you will certainly see a counter throughout of the recording.
7 You can also pause the recording. If dissatisfied with it, you can erase it and start once again.
8 If you intend to stop the recording, click the Stop switch.
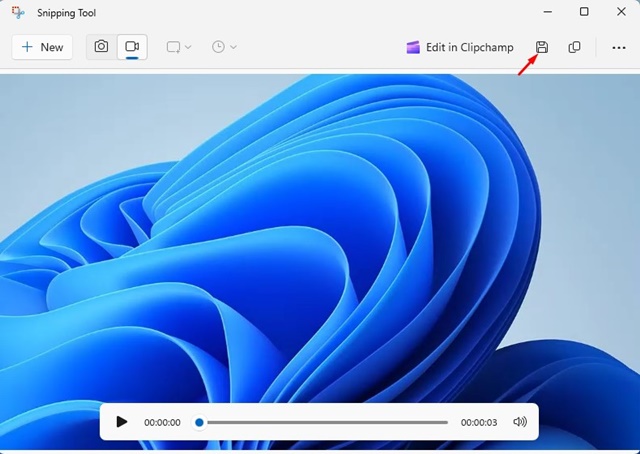
9 To conserve the recording, click the Save icon on the top toolbar.
Various Other Ways to Document Display on Windows 11
While the Snipping device is a totally free energy for recording Windows 11 screen, it’s not the only option. The Snipping device has a couple of constraints that other totally free options don’t.
On Techviral, we have actually shared a checklist of the best display recorders for Windows Most of the devices in the write-up are compatible with the latest Windows 11
So, experience that article and select the one that fits your demands.
This overview is regarding videotaping Windows 11 screen with the Snipping tool utility. The trimming tool is a great utility and is provided completely free. Allow us understand if you require more assistance tape-recording your computer system screen with the Snipping device.